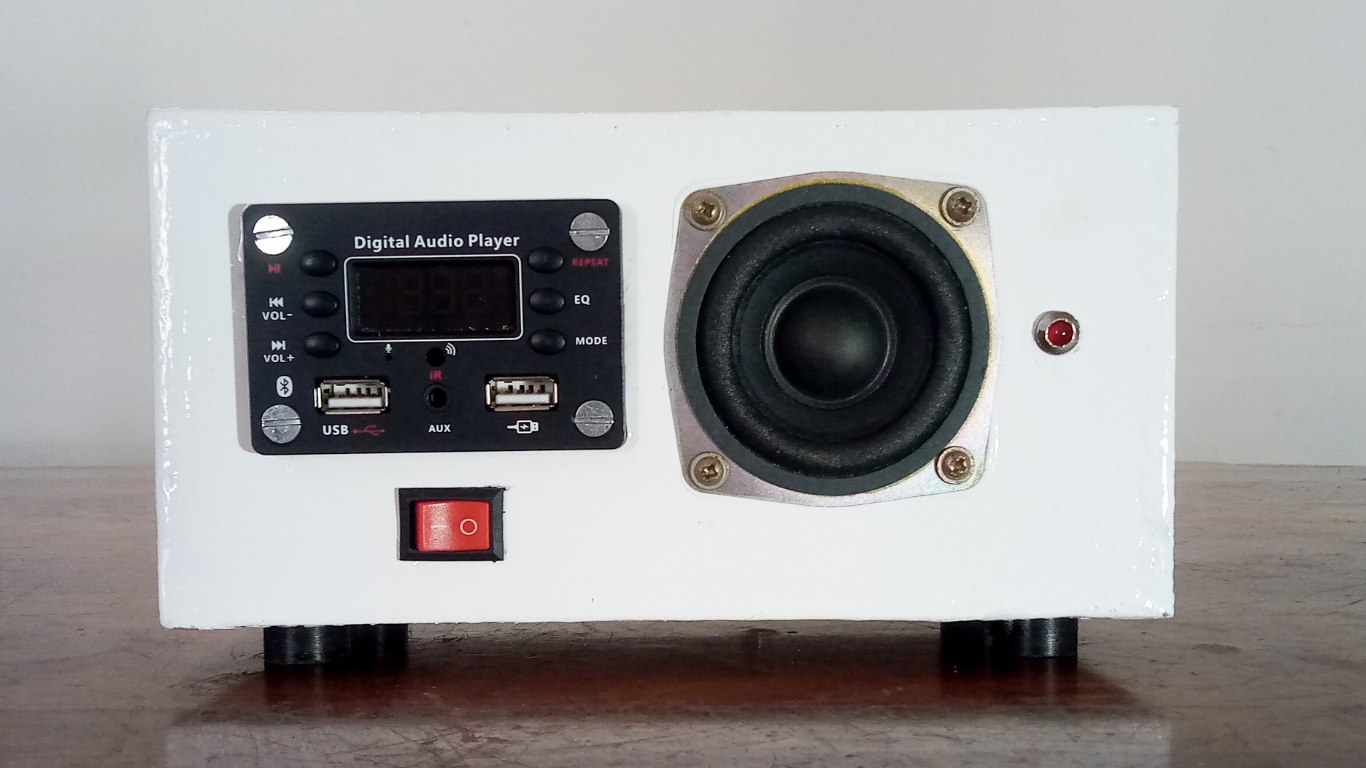
TRC DIY #3 – Building a Bluetooth Speaker System

In the previous instalment of TRY DIY, we learnt about amplifiers and built an amplifier from a kit. We also looked at a block diagram of a Bluetooth speaker, and the role that an amplifier circuit plays in actually driving a speaker. Today, we will put this knowledge together by building our own Bluetooth speaker from scratch.

To turn a basic amplifier board, such as the one we built in TRC DIY #2, into a full-fledged Bluetooth music system, we will need to connect an MP3 decoder and Bluetooth receiver module to the input. A variety of these modules are available with additional features such as USB and AUX inputs, FM radio, and playback controls, making them a convenient interface for DIY audio projects.

One of the most important DIY skills is being able to build enclosures for your projects. Our Bluetooth speaker’s cabinet can be constructed from MDF or particle board available from online stores or photo frame builders. These sheets can easily be cut using a small hacksaw, but first we have to plan out the layout for our “box” and work out where to mount the Bluetooth music player module, power input, speaker, and indicator light, etc…


The speaker hole can be cut using a hole-saw attachment for an inexpensive hand drill. To cut square or rectangle holes for the switch and player module, first drill the corners with a medium sized drill bit, then use a hacksaw or blade to cut in the sides between each corner hole.


After cutting out all the sides of our box, we can use wood glue to put it together. You can finish the box using spray paint, fabric covering, or you can choose to leave the exposed particle board for a more rustic look.


Rubber feet made for furniture can be easily screwed onto the bottom of our speaker box for a more finished appearance.

A hollow tube, such as this finished reel of solder wire with one side’s flange broken off, can be used as a “bass reflex tube”. This allows for better low frequency response from a small loudspeaker, as well as some ventilation for the amplifier.

Follow the wiring diagram shown below to connect the amplifier, speaker, player module, on-off switch, and LED indicator as you install them into the box. Refer to TRC DIY #2 for a basic guide on soldering, and be sure to insulate any free-floating bare wire with electrical tape or heat-shrink tubing. Depending on which amplifier board you decide to use, a heatsink may be needed.


The finished Bluetooth speaker can be powered by a common 12V power adapter. Now that you are familiar with the basic techniques of project construction, the possibilities of what you can build are endless. Would you be interested in building a similar Bluetooth speaker from a DIY kit? Let us know in the comments below.

Mentions:
@diyodemag @robu.in_ @makersasylum
Read more: TRC DIY #1 – Getting Started with Audio Electronics
TRC DIY #2 - Building Amplifier Kits


Comments