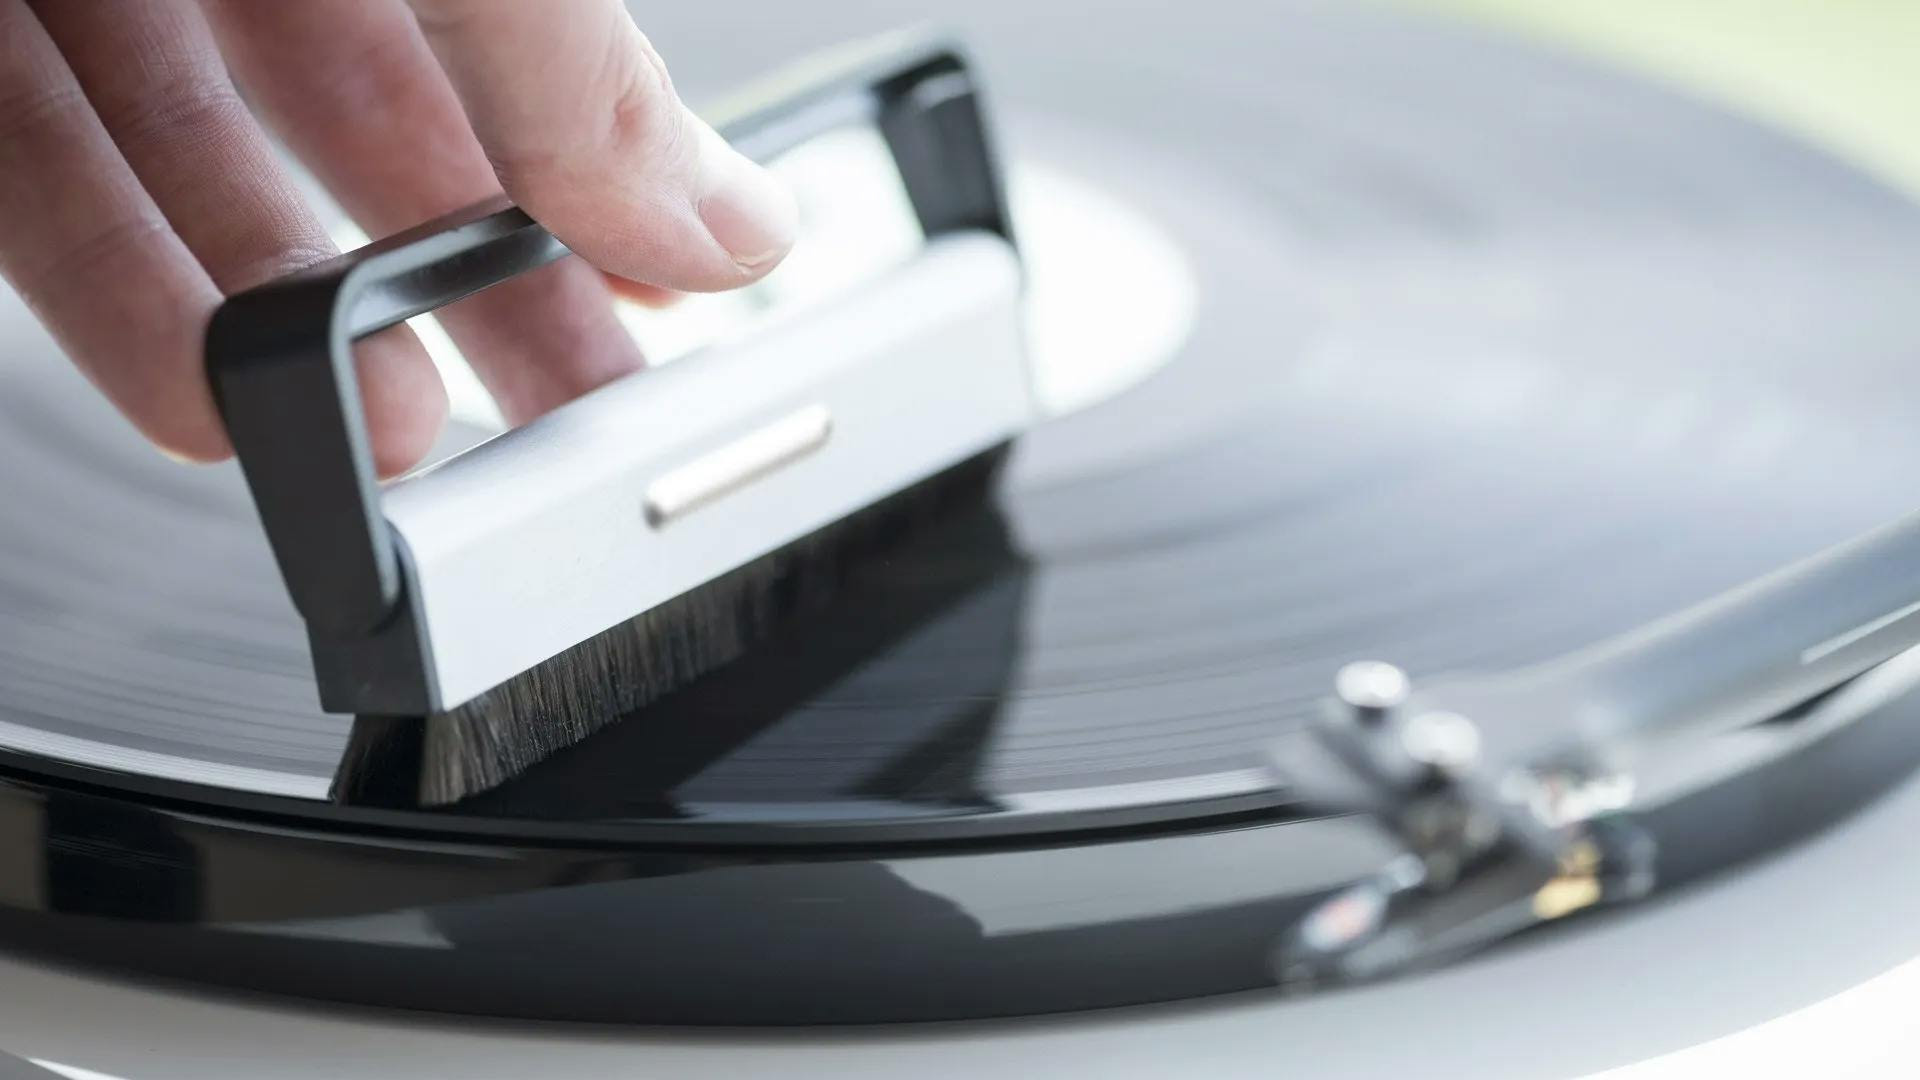


Introduction to Record Cleaning:

Your vinyl records are probably unclean after sitting around. New records are staticky and attract dust, and old records have been sitting in crates for a while.When properly cared for, your vinyl record collection will last a lifetime and beyond. Most importantly, clean vinyl records sound fantastic.
So how do you go about cleaning your records?
You'll need some basic supplies, including:
-Microfiber Cleaning Cloths: Soft, lint-free cloths for wiping the records dry.
.
-Record Cleaning Solution: A mild cleaning solution designed to remove dirt and other contaminants.
-Anti-static Brush: To remove dust and reduce static buildup.
-Soft Bristle Brush: To clean records before applying the cleaning solution.
-Distilled Water: To combine with cleaning solution for effective cleaning.
You can also consider investing in Vaccum & Ultrasonic cleaning machines to make your life easier, which we'll get into later on in the guide.
Manual Cleaning

Removing Dust & Debris:
1)Make sure your hands are clean and dry before starting cleaning your vinyl record to avoid transferring dirt and oils to the surface. Examine the record under a bright light source for visible dirt and debris.
2) Gently remove loose dust and grime from the surface with a carbon fibre or anti-static record brush. Hold the brush at an angle and gradually rotate the record clockwise while it is in contact with the surface. Repeat for a couple of rotations.
3)Wipe the surface gently with a clean, dry microfiber towel to remove any leftover particles. Wipe along the grooves in a straight line.
Applying Cleaning Solution:
You can use a commercially approved vinyl cleaning solution or create your own.
-When using a commercial solution, follow the manufacturer's application instructions.
-You can make your solution by combining distilled water and isopropyl alcohol. Make a solution of 80% distilled water and 20% isopropyl alcohol. Tap water should be avoided since it can leave mineral deposits.
Wiping The Record's Surface:
1)Moisten with the cleaning solution a clean, soft, lint-free microfiber cloth or a special record cleaning cloth. It has to be damp but not dripping wet.
2) Gently place the damp cloth on the record and move it in a straight line from the outer edge to the center. You don't want to push too hard and risk damaging the grooves, so be gentle. If the record is particularly unclean, you may need to repeat the process several times, each time using a clean area of the cloth.
Drying The Record:
Allow the record to air dry vertically in a dust-free spot after wiping it with a damp towel. You can use a clean dish drying rack or a vinyl record drying rack. When the record has dried completely, view it again under bright lighting to make sure there are no streaks or residue.
Cleaning the Stylus

Dust, debris, and even vinyl residue can build up on the stylus over time, interfering with playing and potentially harming both the stylus and the records. There are two ways to clean the stylus: using a stylus brush or applying a special cleaning solution.
A stylus brush is a small, soft-bristled brush used to clean the stylus. It's a gentle and risk-free method of removing loose material. To remove any dust or particles, carefully brush the stylus from back to front.
A stylus cleaning solution is a specifically prepared to help in the dissolution of harder to remove debris from the stylus. Using a specialist applicator or a fine brush, apply a small drop of the solution to the stylus. Before using the turntable, let the solution evaporate.
Cleaning the Stylus:
To avoid accidental movement, turn off the turntable before cleaning the stylus.
If you're using a brush: Hold the brush firmly but gently. Brush the stylus a few times going back and forth from the back to the front. Brushing in the same direction as the tonearm is advised.
If you're using a cleaning solution: A small drop of cleaning solution should be applied to the stylus. Allow a minute or two for it to evaporate before using the turntable.
How often should I clean my stylus?
If you only play records on occasion, cleaning the stylus every 5-10 hours of audio playback is sufficient. Consider cleaning the stylus after every 3-5 hours of playback if you use your turntable more frequently. If your room is very dusty, more frequent cleaning may be required. Keep in mind that over-cleaning can be just as damaging as under-cleaning. Always take care when handling the stylus and avoid applying excessive force or abrasive materials.
Vaccum Cleaning Machines

Vacuum cleaning machines use a motor-powered vacuum system that applies a cleaning solution to the record and extracts it along with all contaminants. These machines go deep into the grooves of the record to remove all dirt that manual cleaning can miss. The vacuum arm is fitted with a suction tube and a soft nozzle, which follows the curves of the groove.
How to use a Vaccum Record Cleaning Machine"
- The machine features a turntable where you should place your record.
- Apply the cleaning solution to your record.
- Turn on the vaccum and turntable, then place the vaccum arm onto the record.
- The vacuum arm will follow along the grooves and clean the record. Make sure the arm doesn't press too hard, to prevent any damage.
- Once the process is done, the record should be dry but you can air dry it or use a micro fiber cloth.
Ultrasonic Cleaning Machines

Ultrasonic cleaners use high-frequency sound waves to penetrate into the tiniest grooves of records, removing all dirt that hand cleaning methods may miss. They generate minuscule high-frequency pressure waves in the cleaning solution. These waves create millions of small bubbles, which implode and produce high-energy shock waves. These shock waves then create microscopic scrubbing movements, which efficiently clean the surface of the record submerged in the cleaning solution.
How to use an Ultrasonic Record Cleaning Machine
- Fill up the cleaner's tank with special vinyl cleaning solution.
- Adjust the machine's temperature and timer settings, you can refer to manufacturer recommendations.
- Place the record in the cleaning basket and make sure it's fully submerged in the cleaning solution.
- You can then start the cleaning cycle, Keep an eye on the machine to make sure it does not touch the sides of the tank or other records, which could cause damage.
- Once the cleaning cycle is done, carefully remove the record from the solution. Rinse the record with distilled water to remove any leftover solution. Carefully pat the record dry with a lint-free cloth or you can let it air dry.
- Once the record has dried, place it in a protective sleeve and store it upright to prevent warping.
Storing your Vinyl Records

Proper storage is essential to preserving the quality and longevity of your vinyl records.
How Should Vinyl Be Stored: Flat or Upright?
The recommended method for storing vinyl records is to keep them in an upright, vertical position. Here’s why:
- Prevents Warping: Storing vinyl vertically helps maintain the records' shape and prevents warping, which can occur if they are stored flat due to their weight and exposure to fluctuating temperatures.
- Avoids Ring Wear: Ring wear, a circular mark on the record cover, can form if records are stored flat for long periods. Storing them upright helps avoid this.
To keep your vinyl collection organized and protected, use a sturdy vinyl record stand.
What Is the Best Position to Store Vinyl Records?
Besides keeping your records upright, consider the following environmental factors:
- Temperature: Store your vinyl records in a cooler environment, ideally between 65-70°F (18-21°C). Avoid areas with temperature fluctuations, such as attics, garages, balconies to prevent damage from extreme heat or cold.
- Humidity: Maintain a humidity level between 40-50%. High humidity can cause mold growth on vinyl records. Use a dehumidifier if necessary to keep humidity levels in check.
- Sunlight: Direct sunlight can fade album covers and deform vinyl. Store your records away from windows or use blackout curtains or UV-protective window film to protect them from sunlight.
- Heat Sources: Keep your records away from heat sources like radiators, vents, or heating units, which can warp your LPs and affect sound quality.

Should Vinyl Records Be Kept in Sleeves?
Without a doubt! Protective sleeves are crucial for vinyl records. They offer an extra layer of protection against dust, scratches, and other potential damage. Here’s what to consider:
Outer Sleeves: These protect the album cover from ring wear and other external damages.
Inner Sleeves: Antistatic inner sleeves are recommended to prevent dust accumulation and reduce the risk of scratches. Modern records often come with poly-lined paper sleeves with HDPE foil to prevent static build-up. Ensure the inner sleeve opening is facing upwards when placing it back in the cover to prevent the record from accidentally falling out and to add an extra layer of dust protection.
FAQs


